Challenging Arts & Crafts

Showing posts with label Veggies. Show all posts

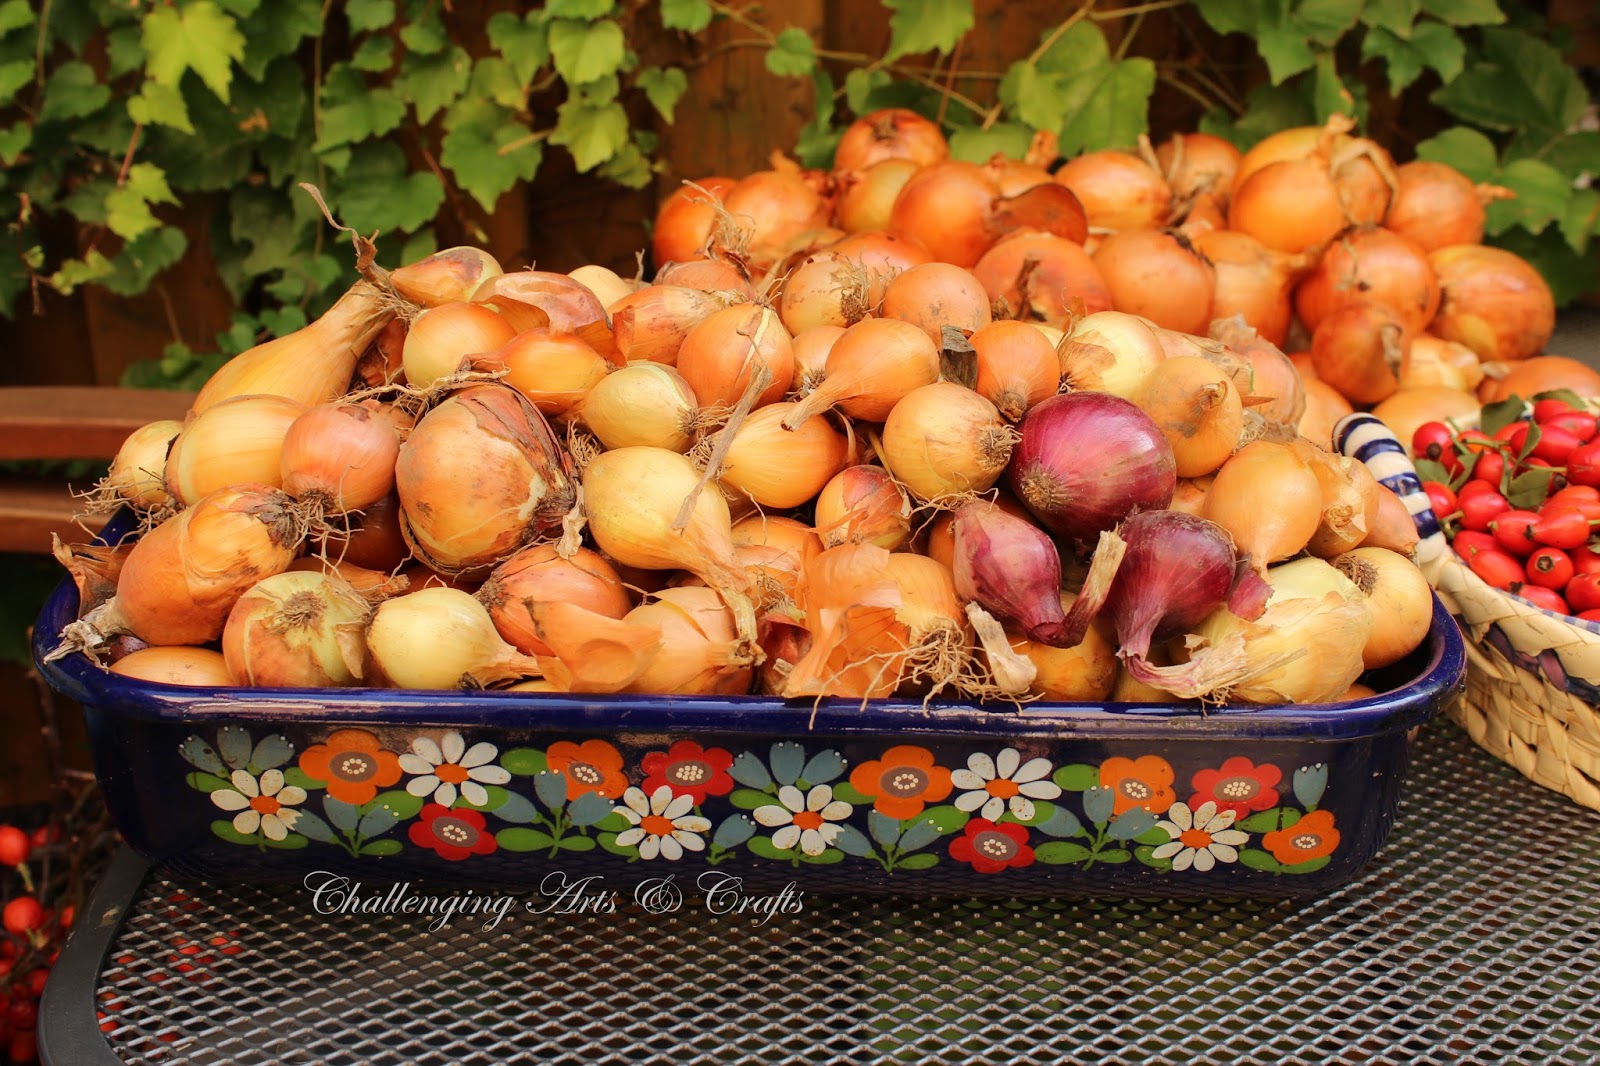
free onions and rosehips....


Year after year, we get so much of these onions from the 
fields near our home, for free. 
Sometime in September, the farmers do their seasonal 
harvesting in the Marchfeld area outside Vienna.


The tractors would set the onions free from the soil, gather them in rows, 
dry them  for about a couple of weeks before they are being 
cleaned and delivered to the wholesalers in big crates.


When the farmers finished their harvest and the tractors are 
out of the fields, we´re allowed to get the remaining ones that were not 
included in the harvester.


Aside from the abundance of such harvest, I also got rosehips that I´m drying, also
from the same area. I´m trying this out for the first time to make tea... 
I read that each berry is  full of  vitamins and could give relief to colds.
I´m anxious  to try the tea now!


We love to walk the dog here because it´s where nature is at its best.  
Lily would while away enjoying the smell of the grass, wild trees
and bushes as other dogs do.


Sometimes, the farmers here change the crops they grow each season...
one time it´s the potatoes,  next.... the corn , rapes or sunflowers for 
the oil production.


Lily exploring....


...and inspecting our free harvests


Rosehips for drying..... interesting to note that the drying process takes long.


My storage box full of onions is hidden in a cool dark place to make 
them last longer. The dark place is necessary to prevent each 
piece from getting green shoots, thereby leading each 
onion to get spoiled!


 I will tell more on the dried rosehips soon as they are ready... 
perhaps, the rosehip tea will taste good! 
Am anxious!


Thanks for visiting!


Sharing at : 


the potted cherry tomatoes ....


It wasn´t  my plan to have any tomatoes in my garden. I once potted a normal tomato newbie, it grew big but never had any fruit nor flowers... From that time on, I have avoided to include tomatoes in my list of vegetables for my container garden. This season though, I never thought that planting cherry tomatoes in pots would be a success. 
In fact, it´s even more than a sucess!!!


We live in a townhouse (rowhouse)  in the outskirts of the city that has  a 
small backyard. The backyard has conifers that we planted on 
all three sides  to make the garden a bit closed and private. 

The conifers , hibiscus are slug resistent and some of my flowering pots contained 
geraniums which the slugs do not like at all. Of course, all flowering plants such as 
begonia, petunias & co. are either hanging or attached to the walls using 
plantholders from Spain. The slugs would have a fiesta 
if  my veggies were planted in the backyard.


 I have learned my lessons on the slugs... our backyard could never be a venue 
for my vegetables. Good that I still have an option and turned my 
top terrace of 9 sq.meters into a container garden... . We seldom use 
the terrace anyway, it´s just too hot up there!


Since years, I´ve been planting my veggies particularly the salad greens 
in cracker containers. the rest veggies are in 5 gallon plastic pots...  
Plastic pots are good, they never ruin your back compared to the 4 big clay pots 
I have,  particularly when you move the plants here and there to 
get maximum sunlight.


This season, I bought 2 newbies of cherry tomatoes and gave them a try.
As the days went on... each grew and grew more than 2 
meters high and started to flower, many flowers... Yuhuu!!!
I planted them in 2 five-gallon pots with ordinary garden soil.  Never did I 
think that this would be a thriumph, really!!!


I was so excited to see the first clusters of green tomatoes. I was so proud 
of my green thumbs  and felt so happy :-))


The first harvest had not been many , I  braised them to accompany the 
other veggies in the pic below ... hmmmm!


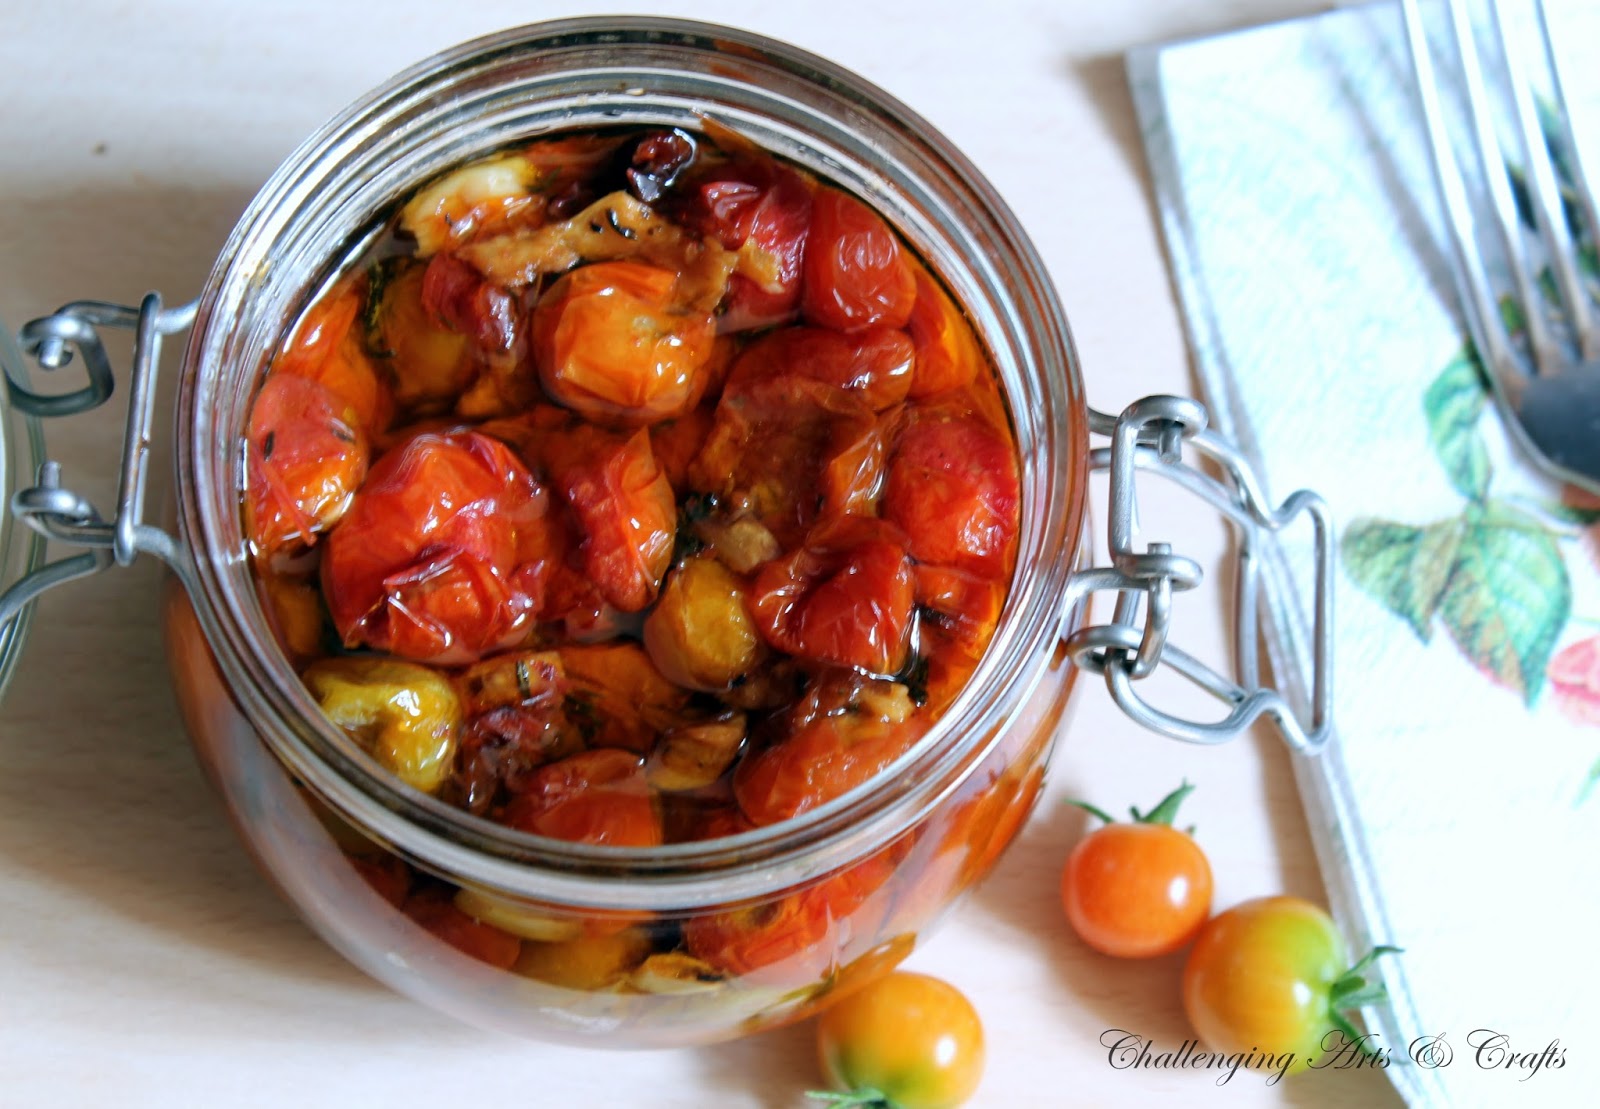
So, as the tomatoes got red everyday, I harvested them... sometimes in one picking, I could gather 800 -900 grams.. and they are so awesomely crispy!!!  I started roasting them and put them in sterelized containers adding olive oil to just cover them to prolong the
shelf life ....just like the way Oma  (hubby´s grandma) used to do it her way. 


The easiest way to prepare them was to ovenroast with lots of herbs. I used them in almost any serving. I just let the olive oil drip in a container... the oil drippings can also be used for other cooking purposes because of its aroma. I love using the oil drippings for the Stir-fried rice or by simply topping a slice of baguette or brown bread with it.


Below is  the process on how I roast the cherry tomatoes 


Garlic Roasted Cherry Tomatoes

Ingredients: 

800 grams cherry tomatoes, washed and dried-up
3 cloves of crushed garlic
1/2 tsp dried thymes
1/2 tsp dried basil
2 leaves bayleaf, each cut half
1 tbsp soy sauce
1/3 cup olive oil
salt & pepper
1 pinch of fine sugar

How to roast:

Pre heat oven to 200°C.

1.
Line an oven tray with baking parchment/sheet.
Arrange the tomatoes on the tray, add the crushed garlic,  
 sprinkle the olive oil on top of the tomatoes and add the rest of the ingredients.
I use my hand to mix everything so that all other ingredients coat the tomatoes. 

2.
Place the oven tray on the lowest rack of the oven and roast tomatoes in the preheated
 oven with  temperature of 200°C for the first 20 minutes,
 then reduce heat to 180°C and roast for another 30 minutes turning tomatoes every 
now and then. the skin should get crumpled as in the pic below.

3.
Remove the bay leaf and place the  tomatoes in the sterilized jar, add the olive oil just to cover the tomatoes. Close the lid tightly and store in the refrigerator. Once opened, consumed within 3-4 days. 


Home Sweet Home


In the second batch of my harvest, I oven roasted the tomatoes once more and used them for the tomato tart below. Here, I used a ready made dough for the crust which I blind-baked. Then,  I fried one sliced onion, add this to the 3 beaten eggs and 2 tbsp creme fraiche, seasoned with salt & pepper then add everything to the crust. Baked for about 40-50 minutes or if the test toothpick comes out clean, then the tart is ready.

That´s it for today!


Wishing you all a nice weekend!

xoxo, 


habaneros and the red onions


I´m an avid fan of container gardening... all the veggies I plant are located on the top terrace. I couldn´t plant any edible ones in my backyard because the slugs damage all leaves they can eat especially after the rain. My container veggies and salads are safer on the top terrace. 
-


Yesterday, after a biking tour,  I went back to the fields to get some more white onions but nothing was left behind. It can be that some people from our area might have come and got them already.. 


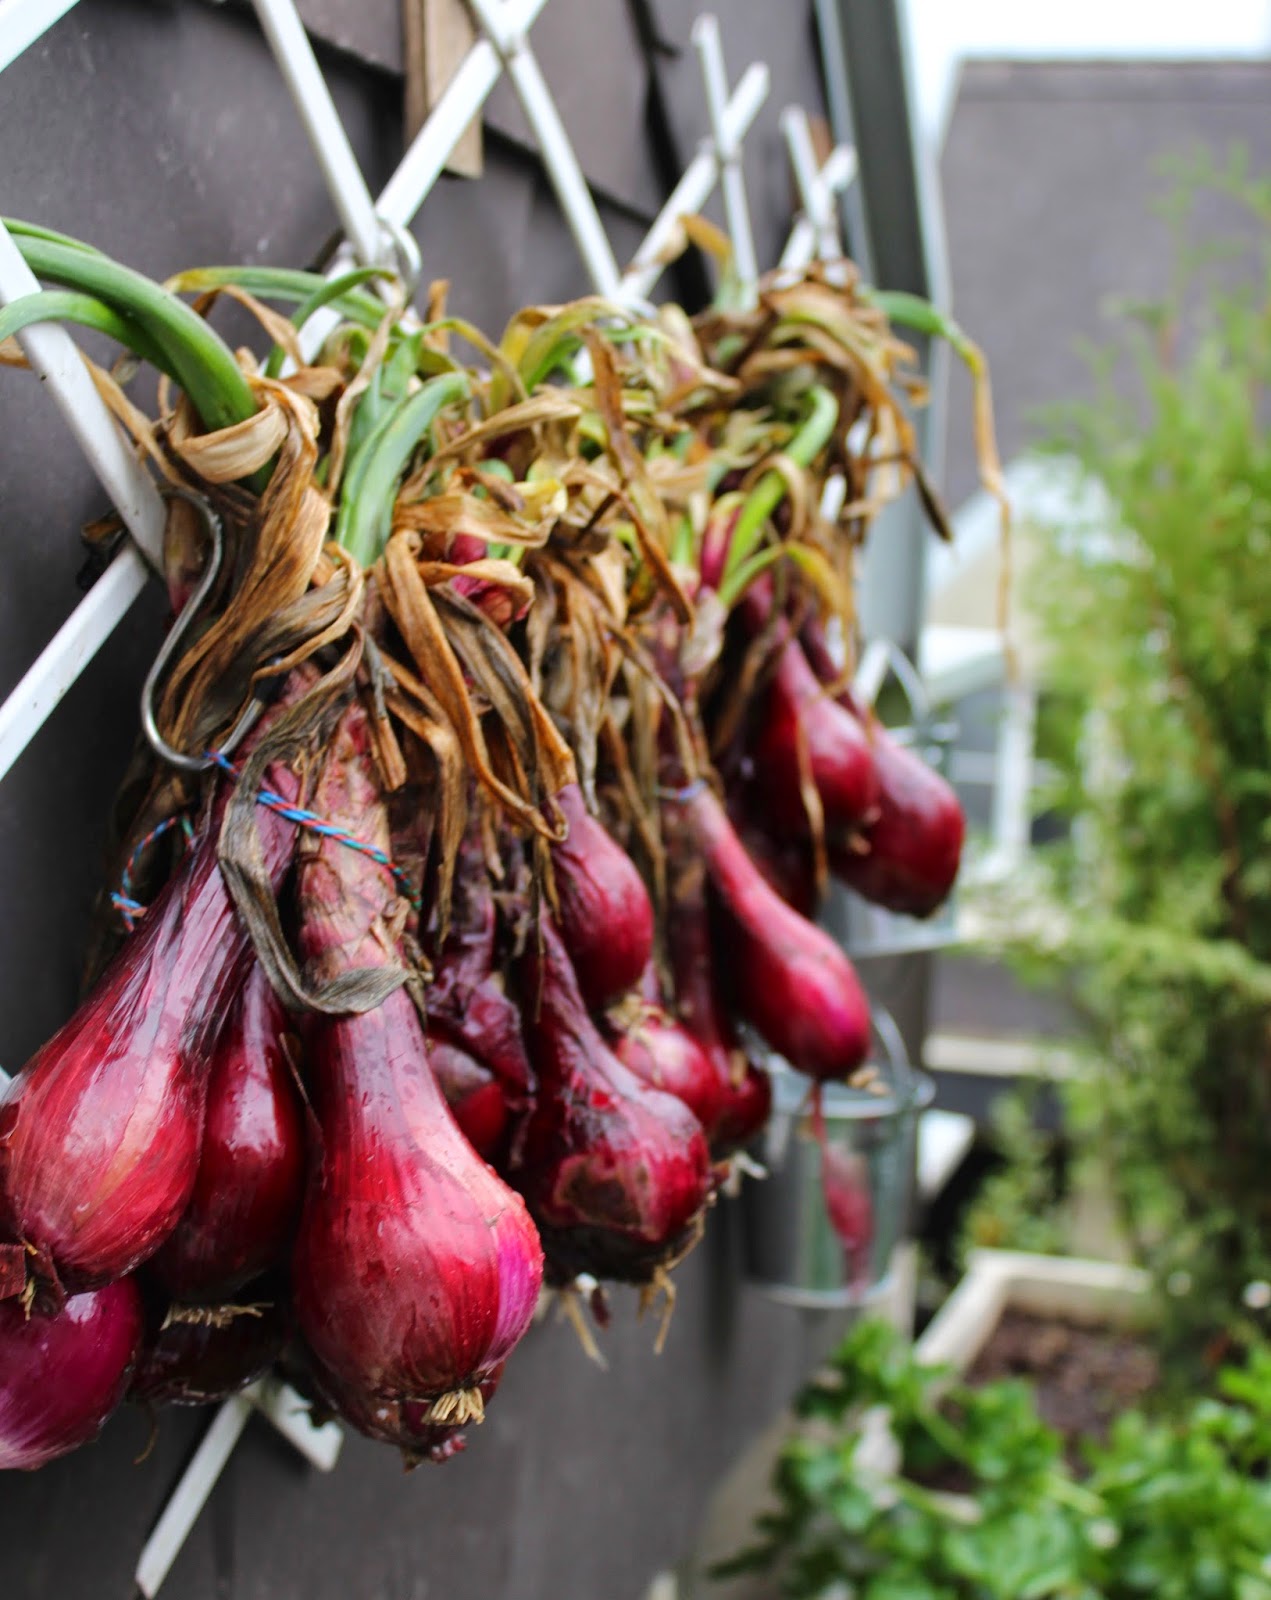
What was left were the red onions located on the outer edge of the area... the tractor  missed them during the harvest and the farmers wouldn´t care to gather them manually because it´s more time consuming and labor intensive.


...  and so, I picked them up like "gold nuggets" until my bag was full, went home, cleaned them and hang some for drying. 

We will surely have plenty of red onions to consume in the next few weeks. And mind you....red onions cost double the price of the white ones. They are more aromatic and mild in taste. 


Habanero, is the chili from Mexico planted in a container, I harvested some of the red ones yesterday...This is such a hot pepper I would never ever have thought..Hubby didn´t know that it´s that hot and tried a bite,, OMG, it´s like a "doomsday" as if " the world was collapsing  on him" he said....he 
rushed to the bathroom and drank plenty of water.... too late, my fault, I forgot to warn him! LOL!


The one container below holds the pointed pepper, I don´t know what the real name is, but these ones are guaranteed to be mild and sweet just like the bell pepper... I´m going to wait til they all become red. 


Happy Sunday to all!

Thank you for reading this blog! 

xoxo,

Mercy


the organic fresh produce


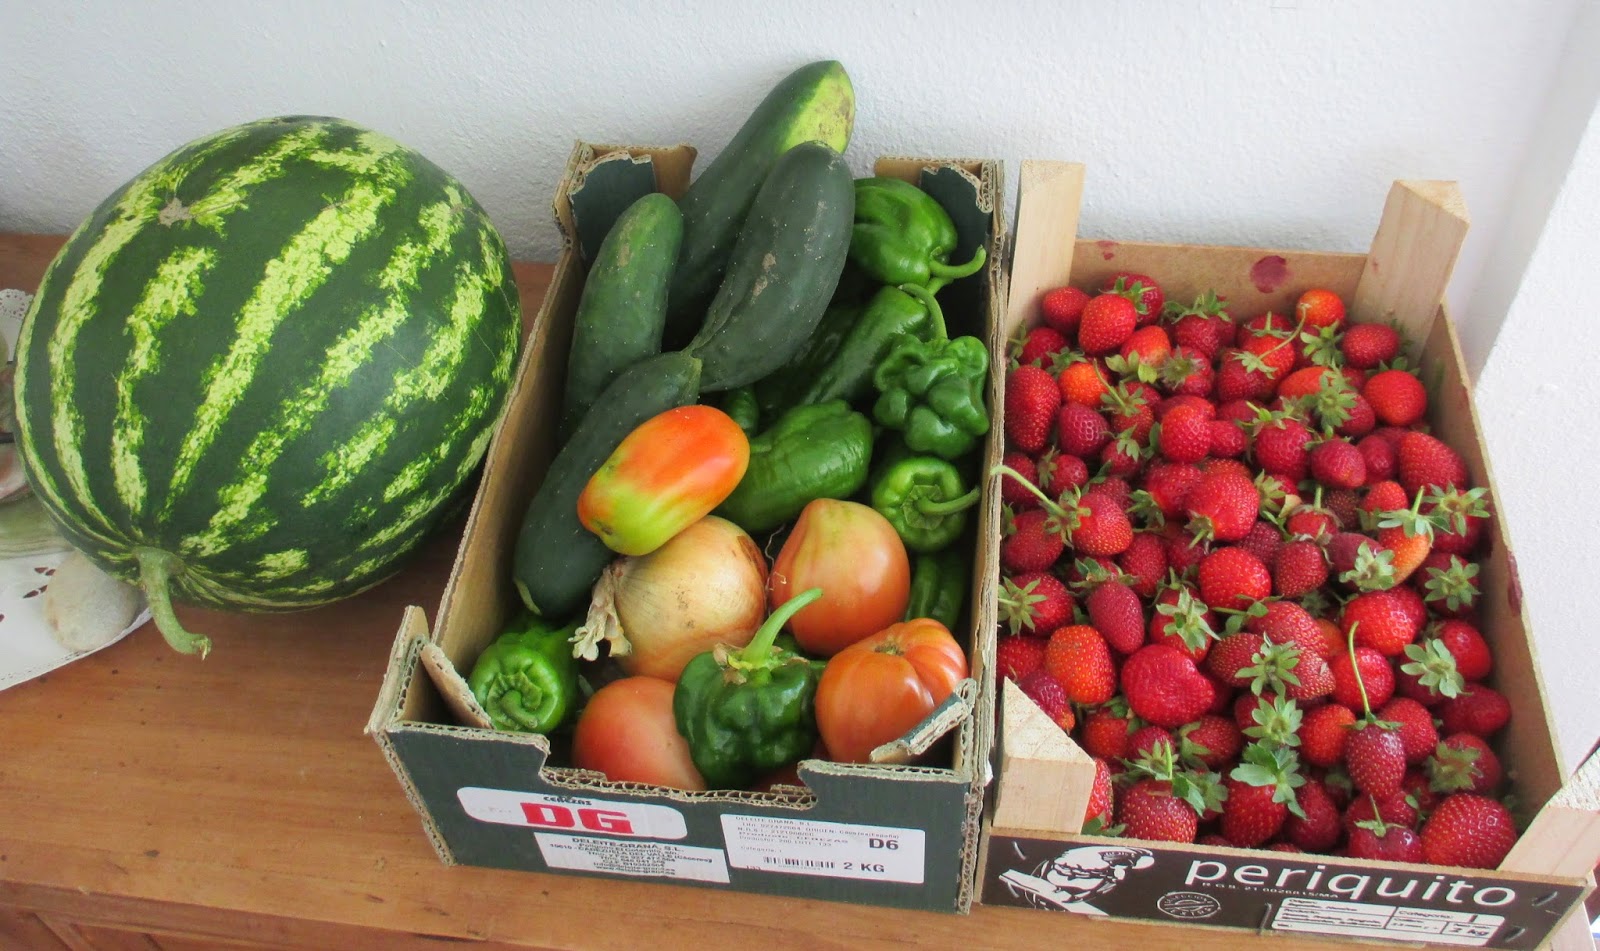
During our vacation in Spain, we were constantly surprised by our spanish neighbour, who is also our mason and brought us the veggies and fruits he harvested from his finca. 


His finca (farm) is just about a hundred meters from our house. He is cultivating his land of about 20 thousands squares meter with lots of various trees, avocados, olives, mango and many more..


In short, he is self sufficient and all the veggies he is cultivating are organic as well as the fertilizers he is using..manures and all that...no insecticide to eradicate the parasites in all his plants.


.....and so we had fresh produce in some of the days..


As we live up the hills, we need not go to the Supermarket to buy veggies and fresh fruits... Market day in our area takes place on Mondays.


If our mason isn´t working, you can surely find him building his house below us or he is tending to his farm like here in the pic below.


lemon tree with lots of fruits


When we were invited to his  house which is still undergoing consatruction, I saw his artistic work done in each of the corner of the house and he is doing it alone by himself without the help of anyone.


We were lucky to have him as we just have to call him by phone and if he´s available, he would surely work on some small projects in our house to our full satisfaction... Below is his house still going under construciton. It´s full of artistic details...it really is!!!


Til  then..enjoy your Sunday!